Today I will show you how I apply wigs and the way that you can do without glue and without all the hassle and all the fuss. This is just what works for me. This tutorial will be very simple and very basic. It’s the minimal way to put on a wig but still make it look good.

My hairs are already washed and I have it in a little bun. The most important thing underneath your wig cap is you want your hair to be as flat as possible. No curls and no bumps because wigs can be a little bit bulky and you don’t want it to look like a wig. You want it to look like your hair. It’s harder if you have a lot of hair. Before I went blonde my hair was a lot longer and it was difficult getting all of my hair in there. The thing I usually do is I would separate my hair into two sides and wrap it and pin it on the sides of my head so that it laid flat. Since my hair is a little bit shorted now I’d like to take the easiest route. That’s the point of this post. I will show you how easy it can be to use wigs.

I let my hair air dry. I’ve just been conditioning it, letting it breathe. I do have bobby pins. You also need wig caps. After putting on wig cap I take my hair and tuck it into the back of the wigs cap. From there I put it down in the back. You can move your hair line around . It’s pretty flat.


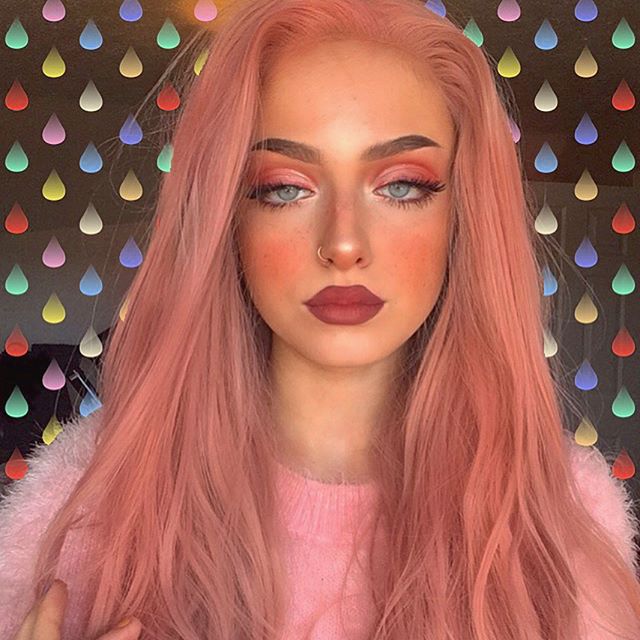
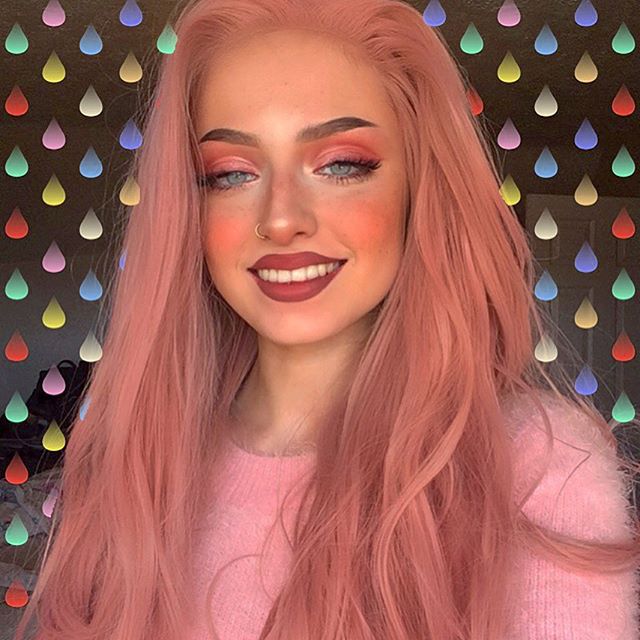
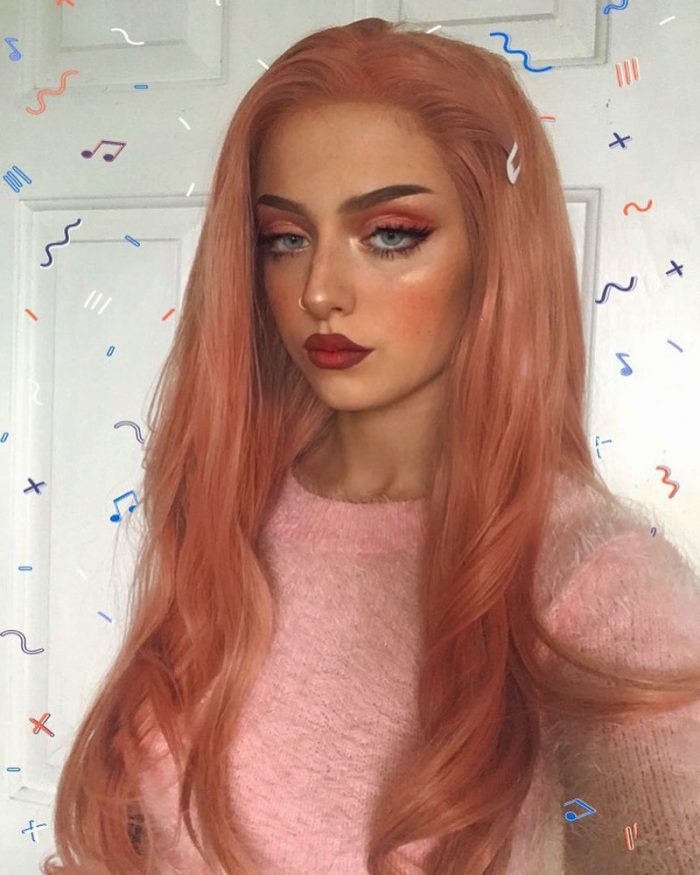
I love this pink wig from UniWigs. It’s a 22” long synthetic lace front wig. Wigs can be very expensive. This one costs $109.89, which is good for a really nice lace front wig. There’s lace on the front part and also clips on the inside and a band that you can make it tighter depending on your head size. The only thing about colored wigs is that it can be hard to hide your hairline unless you get a custom wig you can pull and glue it down. But this one is not that fancy so I cannot do that. I part this wig. The part is usually in the center but I part it in the side.