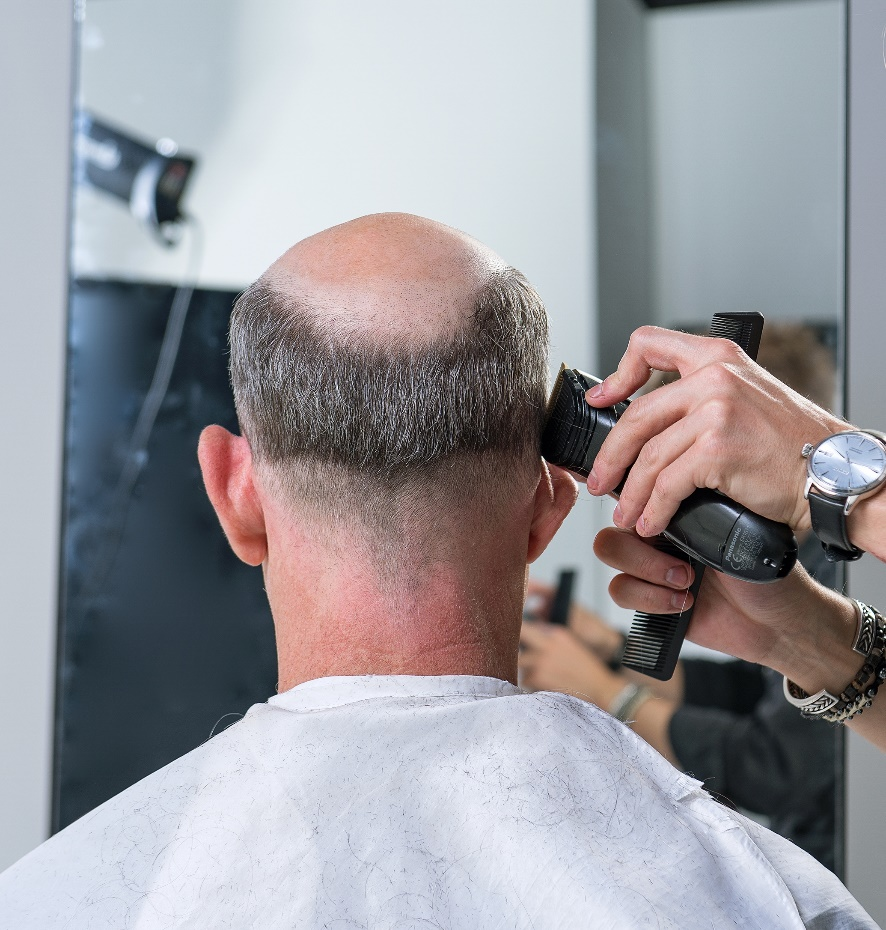
After discussing with customers with hair loss, then decide how to wear hair systems. Determine the overall hairline based on the customer’s forehead line and create a template. This is the part that’s attached to the scalp, and the base of the whole hair system, so it must be fit to the head form. Only in this way can make customers feel really comfortable.
First, we should choose a suitable template. So what are the types of templates?
①Plastic Template
To make the template, you need to use scotch tape and plastic especially for a template, wrap the customer’s whole scalp with plastic and stick it in the vertical and horizontal directions with scotch tape regularly. Take care that you need to control your strength, make sure that force should be evenly distributed and the movement should be quick to create a template that fits the scalp.
②Gypsum template
Usually, gypsum makes the most accurate scalp template. First, wrap the plastic around the scalp and mark the hair loss part with a water-based pen. Second, make the template with a plaster bandage before the water-based pen dries. Then cut the part of the pen mark along the inside after gesso solidify (trichomonosis line). Finally, you will get a whole gypsum template.
③3D Scanning
The customer’s head is measured with a 3D scan, then the scanned data is sent directly to the factory for modeling hair. Compared with traditional ways, 3D scanning can save time and reduce steps.
Second, you should make sure the hair flow through the template. The hair flow of the template is the vergence direction of the hair system’s hair. Human hair is able to maintain its natural flow because of its tourbillion. The hair should also be weaved at appropriate intervals in accordance with the hair flow during the toupee-making process. Therefore, wool quantity can change naturally. The barber has to analyze the customer’s hairstyle before deciding on the hair volume and flow.
The smoothness of the hair flow can vary greatly depending on the skill with which the hair maker weaves the hair. The hair maker should weave evenly clockwise from the center of the hair seam, making the center and end of the hair seam closer together with the edge of the template.
Finally, start producing the template. As a skilled barber, you should make it as soon as possible, so that customers do not feel bored or uncomfortable. Therefore, the preparation before the operation should also be done. In the above various template types, the most common is the production of a plastic template. Here are the production methods of a plastic template.

Make a plastic template for the whole toupee
a Focus on the main points in the head drawing and draw the natural curves in the front, side, and back of the neck.
b The method at the top of the head is the same as in the partial toupee, with the crown line as the dividing line.
c After pasting the side, fix the points at the left and right neck and behind the ear, and paste them horizontally along with the center point(Generally speaking, the distance from eyebrow bone is your hairline, along the hairline intermediate point outspread to the top of the head is the center point) to a point about 5cm above, then stick it vertically or diagonally along the curve of the head to make the tape balanced as a whole.
d The key point is not to let the front, side, nape of the outside of the line be warped or uneven.
B Using template sheets
The effect is faster and more accurate than using tape, but the props cost more, so it is often used in an integral toupee.
a Put a template net on the customer and put all the hair in the net. The hair in the net should be pressed flat and close to the head so that the template is closest to the shape of the head.
b Place the template pierce on the protection net and mark the front hairline so that you can separate the front and back.
c Heat the plate evenly with a heating gun until the plate becomes transparent and thick. Uneven heating will cause the plate to be thin on one side and thick on the other.
d After the template plate becomes uniform and transparent, cool it with the back of the maker’s hand to measure the temperature until it feels no hot feeling. This is a more appropriate temperature.
e Base on the overhead point, press down slowly with balanced force and speed, Press the partial hair system to the ear, and the whole toupee is pressed to the neck. The important thing is that the left and right forces are balanced, and the downward pressure should be at the same speed.
f Wait until the template plate is completely free of heat. The scalp is very sensitive, in order not to let the customer feel hot, you can put an ice towel or cool it at the back of the neck to help cool it.
g When the plate is completely cooled, carefully lift the plate up and remove it from your head. Remove the protective mesh and cut it to a size slightly larger than the hair loss area.
h Place the cut plate again on your head to draw the plate line, which will determine the shape of the hair system. After drawing, tape it around so that the water-based pen will not rub off.
So that’s the whole process of how to make a template. I hope you can learn something from it. If there are any problems please connect with us at sarah@uniwigs.com, we will try our best to help you. Thank you!
